


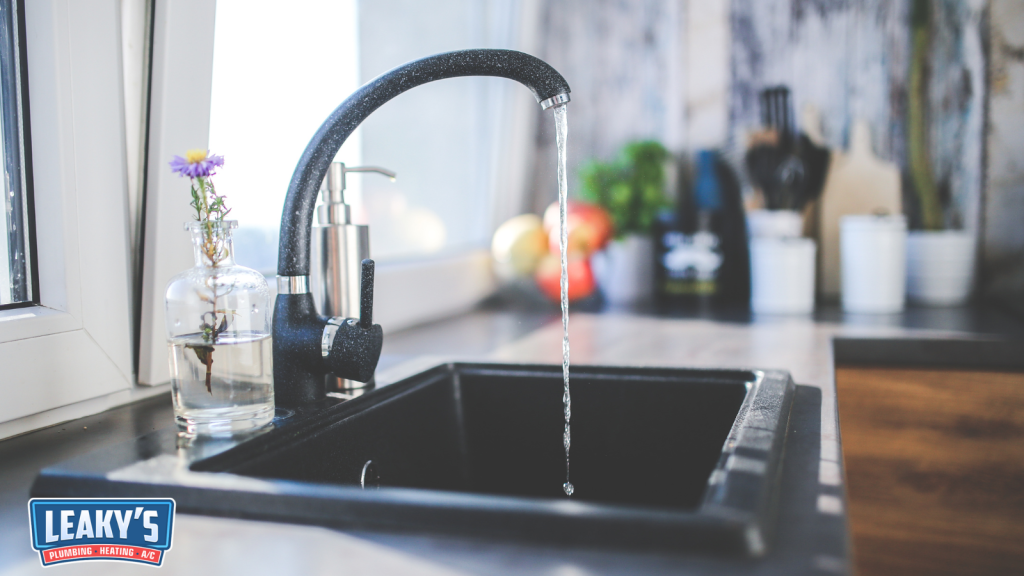
It’s common to see the problem of a leaky faucet as a homeowner from time to time. This is mostly due to regular long-term use or predictable wear and tear. It is, however, extremely important to act first and fix a leaky tap as soon as possible to avoid causing excess water usage, resulting in a high water bill.
You can learn how to fix a faucet on your own, and we will tell you the signs when you need to call your trusted plumber.
Tools and materials required:
- Bucket or bowl
- Rag
- Plumber’s grease (you can also use petroleum jelly)
- Allen key (many modern tap models require one)
- replacement washer or cartridge (depends on the model of your tap)
- Flathead and screwdrivers
- Adjustable Wrench
Step-by-Step Guide to Fix a Leaking Faucet:
Turn Off Water Supply:
Before starting on any plumbing issue, the first thing one must do is turn off the water supply. Firstly, turn off the valves located under your sink by turning them clockwise. Then open the tap to check if the water has properly turned off , release remaining water and also release pressure.
Plug the drain:
The next step is to use a plug to block the drain. In case you don’t have a drain, you can use a rag or a towel to block the drain. This is a necessary step to ensure that any small part, like screws or washers, doesn’t end up going down the drain while you are working on the repair.
Remove exterior parts:
In cases where the dripping occurs right from the nozzle of your faucet, there is a very simple solution that can fix the issue. All that needs to be done is to remove the aerator from the tip of the faucet. You will need to check if there is any dirt accumulation within the aerator’s flow restrictor.
The aerator needs to soak overnight in some white vinegar to get rid of any deposits of limescale caused by hard water. Using an old toothbrush would help clear any clogs present in the screen. It is essential to ensure that the screen remains in its pristine condition without any breaks or cracks before installation. Replace any old O-rings found within the aerator. Frequent limescale buildup is often a sign of hard water a water softener in San Antonio or a water softener in Lubbock can reduce mineral deposits and protect your fixtures long-term.
The next step would be to dismantle the tap by removing the decorative cap. To remove the cap, use a screwdriver or an allen key (if required with your model) and unscrew the handle gently.
After the handle is dismantled, keep it aside. Now you’ll be able to see the internal components of your faucet.
Locate the cartridge, stem, or valve. You can proceed to use a wrench to remove the packing nut, followed by the cartridge.
(If you aren’t sure of the internal parts of your tap, search for a guide/manual online or on the manufacturer’s website.)
Replace parts:
Firstly, try removing the washer. Once removed, check for damage.
If the washer shows signs of excess damage, such as hardening, cracking and misshaping. You will have to replace it.
For taps that have ceramic Discs you might have to replace the cartridge as well.
To find an exact match for your washer or cartridge, you can also bring your old cartridge or washer to the hardware store to look for the perfect match. Many faucets come with standardised parts.
The majority of faucet leaks are usually caused by a worn-out washer or cartridge.
Reassemble:
Lubricate the new washer or cartridge with plumber’s grease. Lubrication is necessary for proper functioning and ensures that the parts last longer if plumber’s grease is unavailable, a good alternative is petroleum jelly.
Put back the tap by following the same steps in reverse order: first comes the cartridge or valve, then the handle and the cap.
Tighten the taps using the wrench, but take care, do it gently, and do not overdo it.
Lastly, turn on the water supply slowly and then the tap. Check if the tap still leaks. If everything is tightly fixed, the tap should stop leaking.
When can you fix a leak on your own:
- If it can be fixed easily: Drips from the spout (single handle faucet): Compression, cartridge, ball, or ceramic disc types. Usually caused by worn seat washers, O-ring, cartridge, or mineral buildup. Parts are cheap and easily obtainable, and they do not require special tools (an adjustable wrench, screwdriver, and pliers are all you need).
- A minor leak near the handle: majorly caused by loose packing nut, worn O-ring, or loose handle screw. Can easily be fixed by tightening the set screw or packing nut, or replacing the O-ring.
- Leak following known causes: Following long downtime with sediment build up, an obvious hit to the faucet, or installing a new cartridge, which led to the leak – such leaks have simple solutions (cleaning, seating, tightening)
- A slow drip from the spout when the faucet is wide open: This may indicate a worn internal valve piece, easily replaced.
When you should call a plumber:
- Leak at the bottom of the faucet that cannot be resolved through tightening or changing the packing/o-rings: It may point to corrosion, damage of the valve seat or a cracked faucet that needs replacement by a professional service.
- Water underneath your sink, dampness in the cabinet, signs of long-term leaks: Potential for pipe deterioration, mould growth, or rotting; a professional plumber will spot hidden leaks and recommend necessary repairs.
- Leak in the supply lines, compression couplings, or connection between flexible hoses and shutoff valves: In case the leak persists after tightening, it may require soldering or replacement of couplings/tubing. For persistent supply line or faucet base leaks, our leak repair services in San Antonio and leak repair services in Lubbock teams can diagnose and fix the issue before it causes bigger water damage.
- Several leaking fixtures around the house or pressure problems: It may be due to supply-line or pressure issues that need professional evaluation.
- Your leak persists or gets even worse after your attempt at repair, and you cannot assemble the faucet: A professional plumber will avoid damaging any fixture further or using incorrect parts.
- Old, specialised, or expensive faucets (widespread, vintage, or designer): They may use proprietary parts, which are either not available or very difficult to install.
- Gas plumbing or an integrated system (like instant hot water, filtering, water softeners, connections): It may interfere with other systems in place and calling a qualified professional would be much safer.
If you are not confident with fixing your faucet or do not have the basic tools necessary to fix a tap in hand, it is advised to call a plumber or plumbing service well-versed with building codes to come fix it for you.
However, when it comes to fixing most types of leaks in faucets, you can rely on easy methods like replacing faulty washers and other faucet parts. There are times, however, that you should call for a professional plumber, such as when the problem involves leaks at the base of the faucet, damage to the underside of the sink due to leaking water, and leaks in the supply lines. Whatever your plumbing problem may be, it’s always better to leave it in the hands of Leakys’ trusted plumbers.
We provide Plumbing Services in Lubbock and Plumbing Services in San Antonio.